
Last updated on 2023. 06. 17.
홈페이지 로딩 속도 개선을 위해 Expires headers를 사용하는 방법을 설명합니다. 자주 가는 홈페이지에 방문할 경우 홈페이지에서 매번 데이터를 다운로드하는 게 아니라 미리 케싱되어 저장된 페이지가 로드되는 것으로 페이지 새로고침(F5)을 누르면 원래대로 홈페이지에서 데이터를 다운로드합니다.
간혹 Expires headers를 설정했는데 작동하지 않는 경우 해결하는 방법을 적었습니다.
1. Apache에 로드된 모듈 확인하기
[pi@localhost ~]# sudo apache2ctl -M
그러면 Loaded Modules에 list가 출력되는데 여기서 ‘expires_module’ 이 로드되었는지 확인합니다.
2. Expires module 로드하기
만약 1번에서 expires_module 이 없는 경우 다음의 명령어로 로드해 줍니다.
[pi@localhost ~]# sudo a2enmod expires
모듈이 잘 로드되었는지 확인해 봅니다.
3. Apache 설정 파일의 Directory option 추가
아래 Apache 설정 파일에 내용을 추가해 줍니다. https를 사용하는 경우 해당 설정 파일에도 내용을 추가해 줘야 합니다.
[pi@localhost ~]# sudo vim /etc/apache2/sites-available/000-default.conf
[pi@localhost ~]# sudo vim /etc/apache2/sites-available/default-ssl.conf

~ 추가해야할 내용 ~

<Directory "/var/www/html">
AllowOverride All
</Directory>
해당 내용을 2-3번째 줄에 추가해서 최종적으로 다음과 같이 업데이트 되어야 합니다.
첫 번째 파일
<VirtualHost *:80>
   <Directory "/var/www/html">
      AllowOverride All
   </Directory>
   ...
두 번째 파일
<VirtualHost _default_:443>
   <Directory "/var/www/html">
      AllowOverride All
   </Directory>
   ...
이제 준비단계가 끝났고, Expires headers를 적용해 봅시다. 두 가지 방법중 하나를 사용하면 됩니다.
4-1. .htaccess를 직접 수정하기
.htaccess file 을 직접 수정하여 아래 내용을 추가합니다.
[pi@localhost ~]# sudo vim /var/www/html/.htaccess
추가해야 할 내용
<IfModule mod_expires.c>
ExpiresActive On
ExpiresByType text/html "access 1 month"
ExpiresByType text/css "access 1 month"
ExpiresByType text/javascript "access 1 month"
ExpiresByType text/x-javascript "access 1 month"
ExpiresByType image/jpeg "access 1 year"
ExpiresByType image/jpg "access 1 year"
ExpiresByType image/png "access 1 year"
ExpiresByType image/svg "access 1 year"
ExpiresByType image/gif "access 1 year"
ExpiresByType application/pdf "access 1 month"
ExpiresByType application/javascript "access 1 month"
ExpiresByType application/x-javascript "access 1 month"
ExpiresByType application/xhtml+xml "access 1 month"
ExpiresByType application/x-shockwave-flash "access 1 month"
ExpiresByType image/x-icon "access 1 year"
ExpiresDefault "access 4 days"
</IfModule>
저장하고 Apache를 재시작 해 줍니다.
[pi@localhost ~]# sudo service apache2 restart
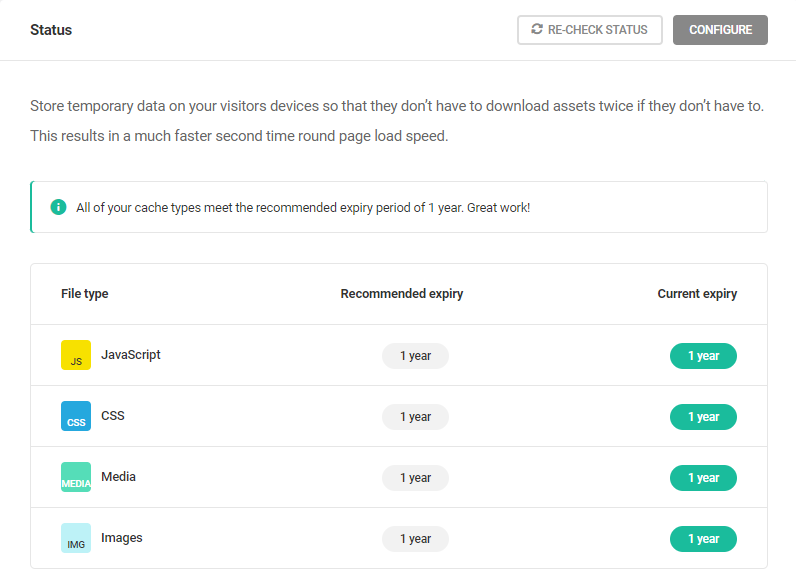
4-2. 워드프레스 플러그인으로 설정하기
워드프레스 플러그인 중에 Hummingbird 라는 플러그인이 있습니다. 플러그인에서 caching 항목이 있는데 거기서 브라우저 항목 configure에서 설정할 수 있습니다. 이 설정이 결국 .htaccess를 수정하는 것인데 플러그인으로 편하게 설정하는 것입니다.
이제 워드프레스에서 Expires headers 테스트를 해보면 정상 적용될 겁니다.